مرور برسی اسناد ادوبی ایلوستریتور Illustrator cc : در قسمت های قبلی آموزش های ویدئویی رایگان ادوبی ایلاستریتر سی سی مبتدی را برسی کردیم و در این قسمت، روش های مرور و چرخیدن داخل نرم افزار Illustrator CC را برسی خواهیم کرد. تا اینکه بتوانیم به تمام بخش های داخل یک سند Illustrator documents، دسترسی پیدا کنیم.
آموزش مرور برسی اسناد ادوبی ایلوستریتور سطح مبتدی Illustrator cc
ساده ترین روش برای مرور اسناد؛ دستور زوم هست که با زدن دکمه Z روی نوار ابزار toolbar اصلی فعال میشود. با زدن دکمه های Alt + Click هم میتوانید در جایی که موس قرار دارد، زوم کنید.
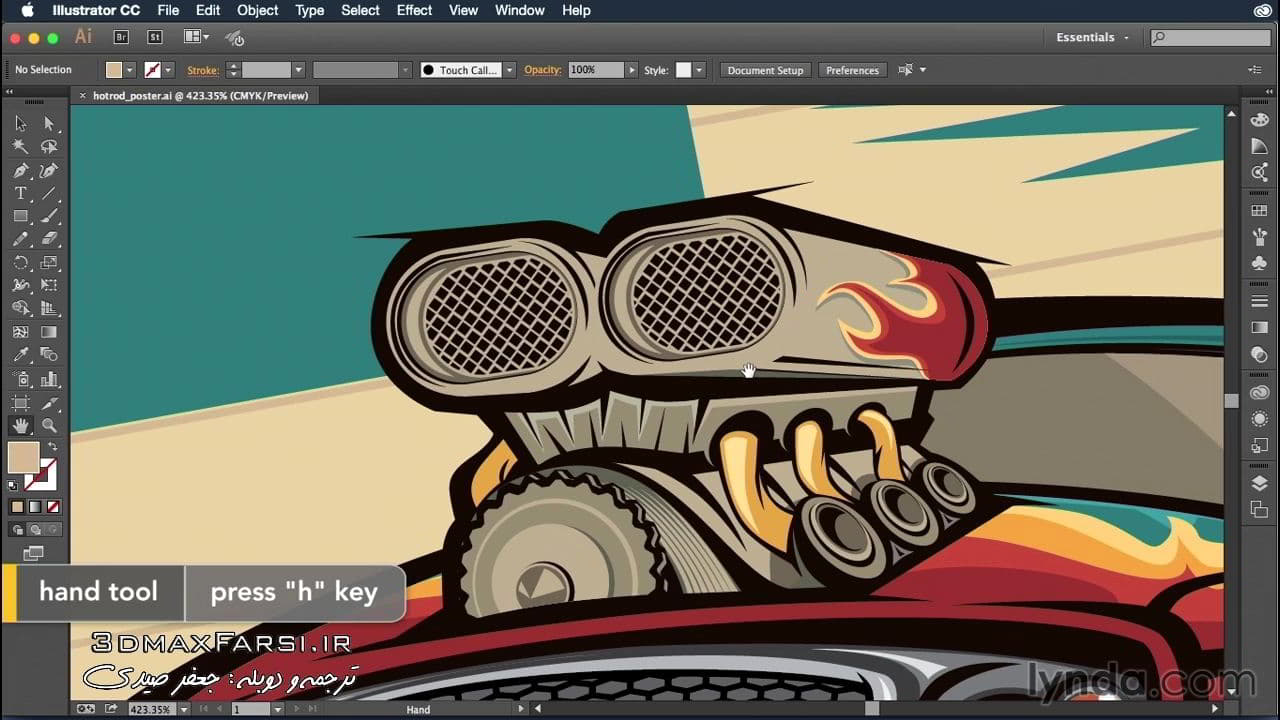
ابزار بعدی، هند hand tool هست که درست مانند یک دست عمل میکند و میتوانید بدون تغییر دادن درجه زوم، از یک سمت، به سمت دیگه صفحه کاری خودتان بروید. برای فعال کردن آن، میتوانید دکمه H روی کیبورد را بزنید. اگر روی حالت زوم باشید، با نگه داشتن دکمه spacbar key ، به صورت موقت، ابزار hand فعال خواهد شد. و با زدن دکمه های Alt + 0 ، کل کار رو به ما نشان خواهد داد و Alt + 1 زوم صفر درصد قرار خواهید گرفت. اگر روی آیکن ذره بین هم کلیک کنید، روی زوم 100 درصد قرار خواهد گرفت.
در پایین صفحه کاری و سمت راست، 2 اسلایدر را داریم که از آنها هم برای گردش در صفحه کاری، میتوانید استفاده کنید.
روش آخر مرور و برسی اسناد Illustrator cc : استفاده از پنجره Navigator است که برای فعال کردن آن، از Window menu گزینه Navigator window را باید انتخاب کنید که یک پنجره را در اختیار ما قرار میدهد که دارای یک مستطیل قرمز هست و محل قرار گیری دیدگاه جاری ما را نشان میدهد. البته شما میتوانید از سایر دستورها و میان برها هم استفاده کنید. تا به راحتی در بین فایل ها جابه جا بشوید و آنها را مرور کنید. اینها روش های رایج موجود در Illustrator CC بودند که در استرس ما قرار گرفته شده اند و شما میتوانید ابزاری را که از همه سریع تر و راحت تر کار میکنید را برای خودتان انتخاب کنید.
فیلم آموزشی Video Tutorials
پخش آنلاین آموزش مرور برسی اسناد ادوبی ایلوستریتور Illustrator cc
نسخه کامل این آموزش فارسی را از لینک زیر دریافت کنید :
خرید 6 ساعت آموزش کامل Adobe Illustrator با دوبله فارسی :
دوره کامل آموزش فارسی ادوبی ایلاستریتر Adobe Illustrator : مقدماتی تا پیشرفته
a selection around the area with the zoom tool and then zoom in to that particular area. If you zoom into an area that wasn't intended, you can always pan over to a different section of the document by using the hand tool which is located over here. You could also just simply press the letter H. The hand tool works much the same as if you had your hand on a piece of paper and you simply put your hand down by clicking the mouse and then move the paper over by dragging to the left or to the right. So I'll grab the paper here, move it over, grab the paper here, move it down. That way I'm focusing now on the eagle instead of on the car. I could also temporarily invoke this tool when I'm using the zoom tool. Let me show you how that works. So let's say, for instance, that I zoom in on the eagle, but I accidentally get his beak instead of his eye which is what I want right up here. Well I don't have to release the zoom tool. All I have to do is hold down the spacbar key. Notice how my magnifying glass turns from a magnifying glass into a hand. While I'm holding down the spacebar key I click, I drag, I reposition my entire document. Then I release the spacebar key and I have my zoom tool right back. This is something called a spring-loaded tool shortcut. So that way you can easily access the hand tool at any time and it doesn't really matter what tool you have selected unless you have the type tool selected in which case you'll just start typing the letter H across your document. Just grab any tool you want in the toolbar, and then just press the spacebar key. See how it changes no matter what tool I have selected. Right now I have the rectangle tool. I press the spacebar. It changes to the hand. I can pan around, go wherever I need to go as I'm holding down that spacebar key. Whenever I get to where I need to be, like let's say I want to zoom in right here on the headlight of the car, I can release the spacebar and continue working with whatever tool I had before. So that's the quick and easy way to sort of navigate around a document. If you don't want to switch between the zoom tools and all these other things, you can also use the keyboard shortcuts for these as well. So if you want to zoom out on a document, hold down the Command key on the Mac, the Control key on the PC, and press the minus sign on your keyboard. Each time I press the minus sign while I'm holding down the Command or Control key, it will zoom me out. If I hold down the Command key on the Mac, the Control key on the PC and press the plus sign on my keyboard, it will start to zoom me back in just like that. There are also numerical shortcuts. So, for instance, let's say that I want to view this document at the full screen. I want to see this document in its entirety. I press Command or Control zero. That means show me the whole document. If I want to zoom in to 100%, I press Command or Control one on my keyboard. So Command or Control zero shows me the whole document. Command or Control one shows me the document at 100%. You can do the same thing here with the hand tool and the zoom tools. Double-clicking the hand tool will show your entire document lynda.